Rain Barrel to Toilet Installation
A Practical How-To Guide
by Paul Michael

Intro
A few years ago, I bought a 90 gallon rain barrel and hooked it up to my rain gutter on the far side of my house. I used it once in a while, but found it time consuming to fill watering cans and so it went mostly unused. Living near Seattle, I get about 37 inches of rain a year. I often see installed rain barrels and rainwater tanks around here used for gardens and flowers that are full and overflowing, not living up to their potential. I thought there must be a simpler way to use more harvested rainwater year 'round.
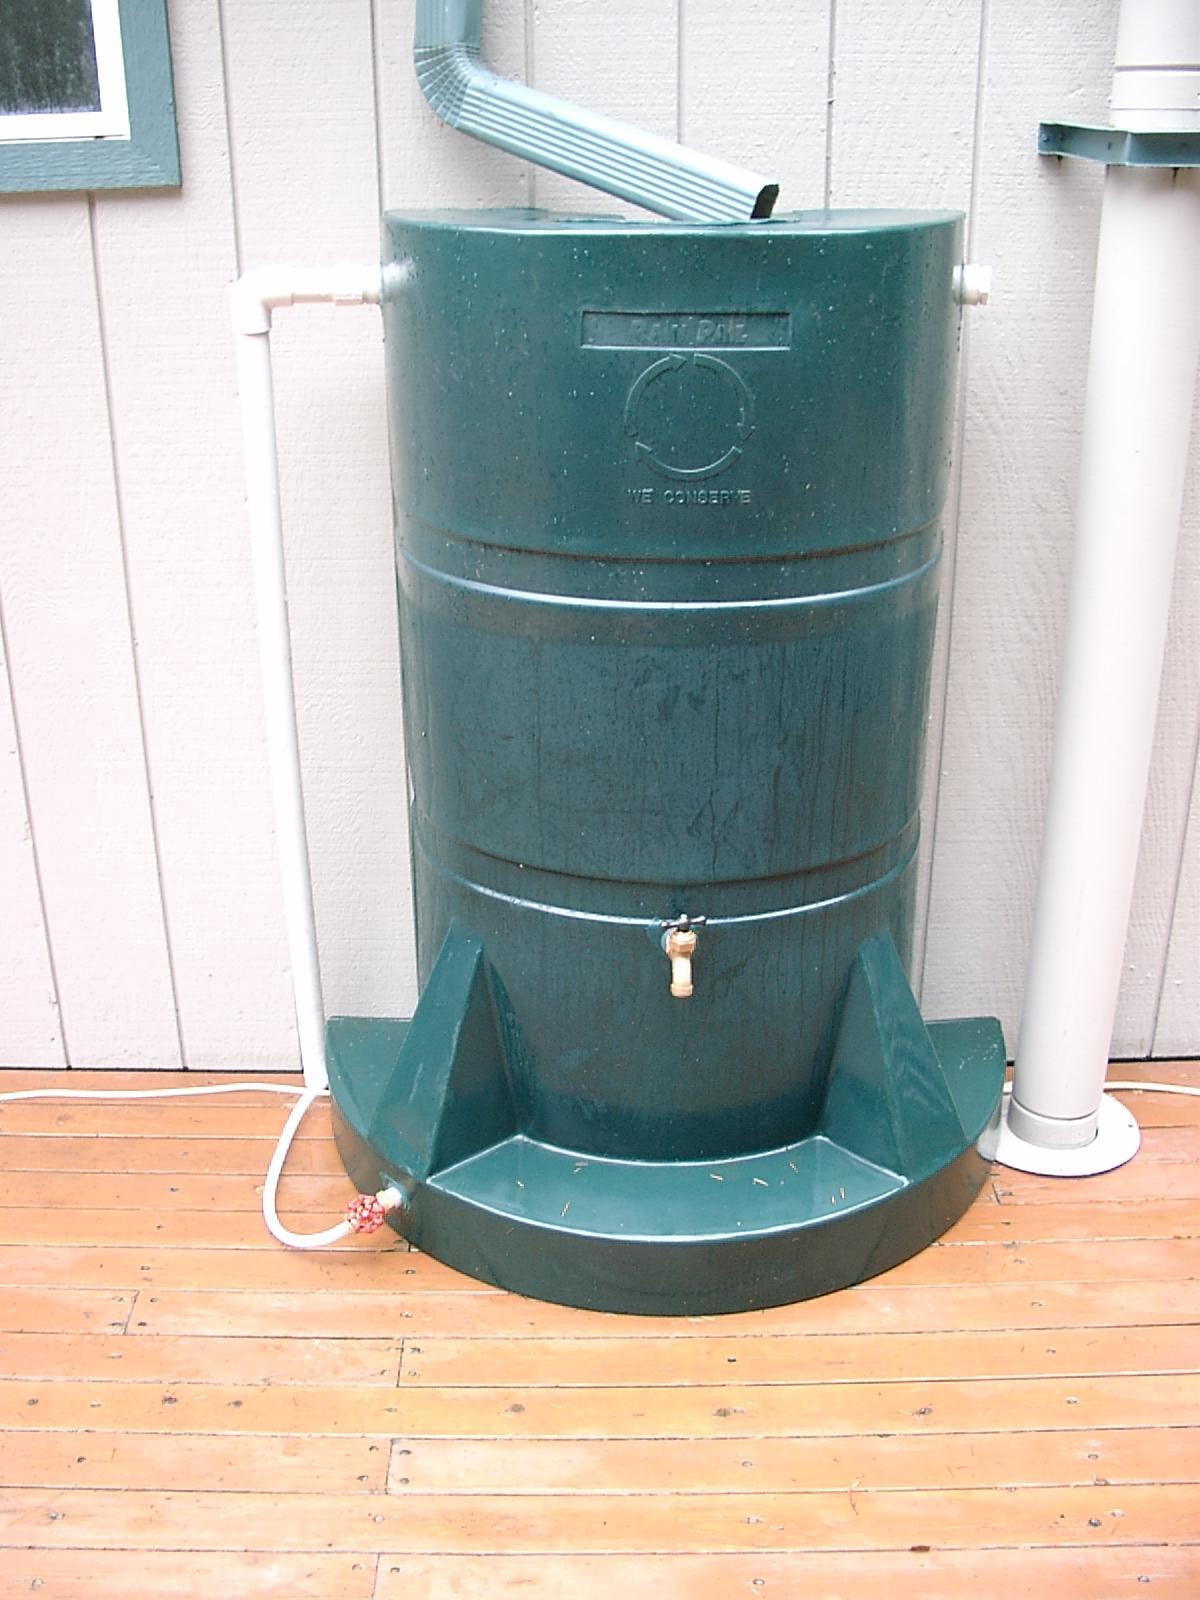
My solution was to relocate my rain barrel on my back porch and then hook it up to my downstairs toilet. This configuration sets the rain barrel about 8 feet above the toilet. When flushed, gravity refills the toilet with rain water from the barrel.
I did a lot of hunting around on the internet and was unable to find much practical information about doing this on a residential basis. It is my hope that this web page may inspire and help others to hook up a rain barrel to their home black-water (toilet) system.
Why Harvest Rain Water?
Many of you probably think I'm nuts by harvesting rain water in Seattle. After all, water is plentiful here, right? While is it true that we get a lot of rainfall, up to 60 inches per year in some places, the summer months can be very dry. Climate change has made our winters here warmer and there is less snow in the mountains to fill our reservoirs during the summer. Watershed collection for our growing urban population can offset critically needed water from rivers during the fall salmon spawning season. Recent summers have been dry enough for the local government to call for voluntary and sometimes mandatory water use restrictions.
While it doesn't come close to making up for our gas-guzzling, high-consuming lifestyles, rain harvesting does have a positive impact on our environment. Domestic potable water collection requires effort, energy, and chemicals for purification and transport. Toilets use 20 to 25% of water consumed in a residential house. Why are we flushing drinkable water down the toilet? In some other countries of the world, rainwater harvesting on a residential level is a mandatory part of building codes.
Your house is an "impermeable surface". Rain would otherwise hit the ground where your house is and soak into the underground water table or enter a natural stream. Instead, rainfall from the roofs of homes in some older cities is tied into the sewer system. During periods of heavy rain, this storm surge from houses, parking lots, and streets into the sewer system can max out treatment capacity, causing raw sewage to flow out untreated into waterways. Harvesting some of this storm surge can reduce peak demands on our water treatment facilities.
Besides the more important environmental issues, most of us in urban areas pay for domestic potable water. I have calculated that each flush of the rainwater toilet (1.6 gallons) saves me just over 1 cent. Costing less than $100 to install, this system will pay for itself over the years.
Also, I have the satisfaction of a small level of self-sufficiency from an urban lifestyle otherwise dependant on society for survival.
Buying Your Rain Barrel
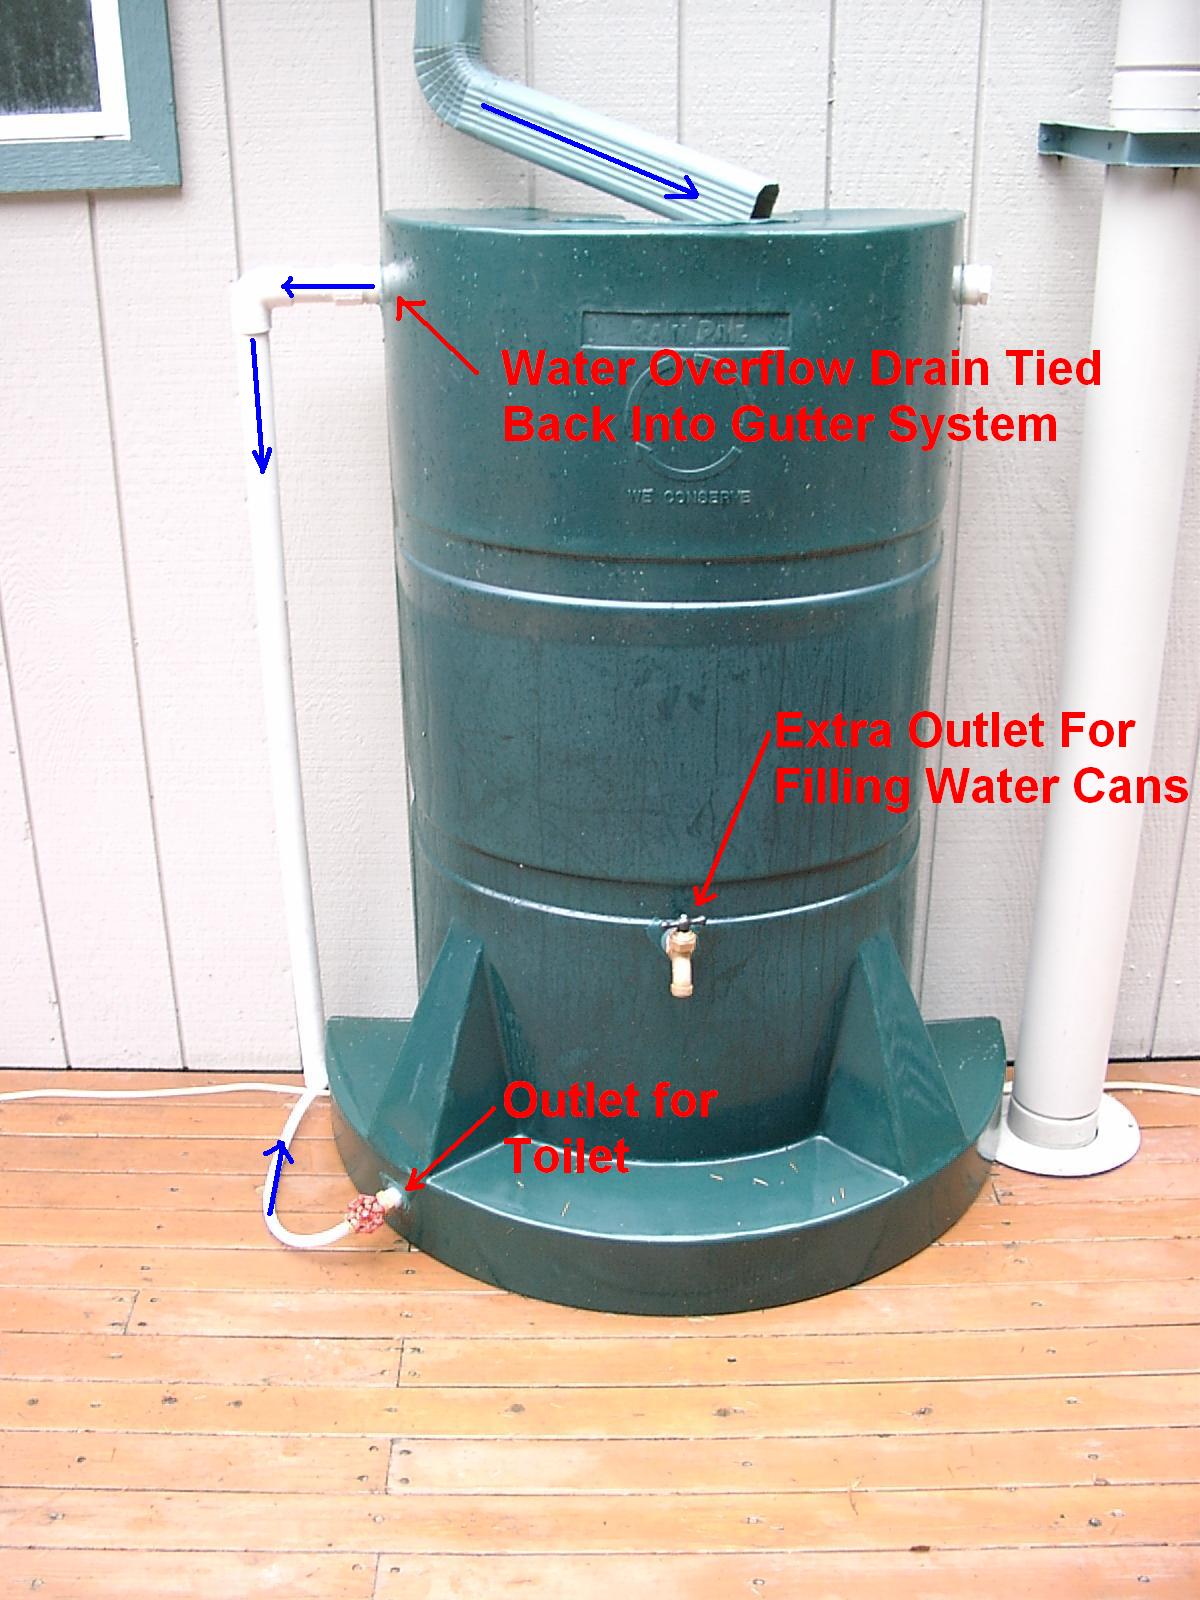
You can buy or make your own rain barrel. There are many styles to choose from. A keyword search on the internet for "rain barrel" will fetch you lots of results. The main feature to have for this installation is a water spigot with a normal 3/4" diameter garden hose attachment at the base as shown below. This spigot must also have a closeable valve.
Also important is a screen to filter out the debris which will inevitably be carried off your roof with the rainwater. You may want to double this with insect screening to keep mosquitoes and other insects from breeding in your barrel.
Don't worry about color. Most barrels are made of plastic or metal and can be spray painted.
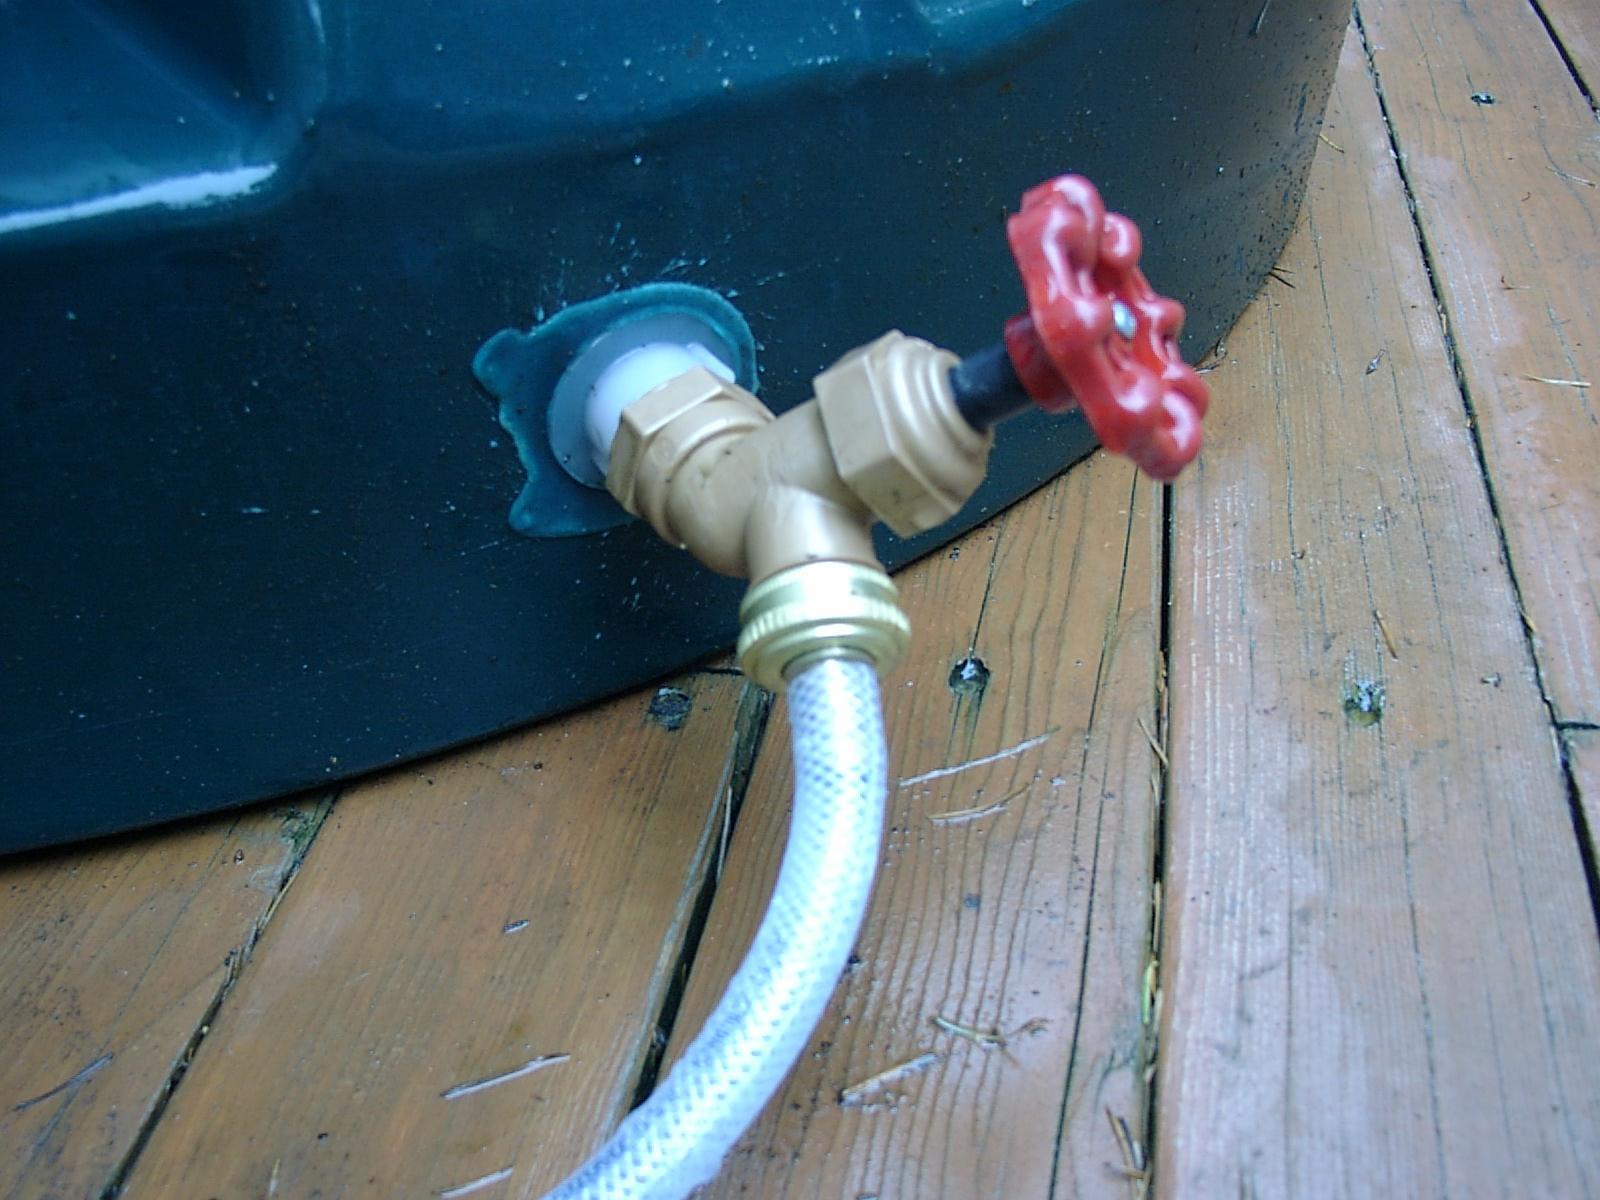
Lower water spigot with valve. Debris Screen At Downspout Outlet.
Most rain barrels that I've seen for sale range from 50 to 90 gallons in capacity. The more capacity you have, the longer you'll be able to use rainwater during times when it's not raining (mainly over the summer months).
To calculate how many flushes you can get out of a full barrel, divide your capacity by the number of gallons per flush. Most toilets in the U.S. use 1.6 gallons per flush. Older toilets may use 3 or more gallons. To check yours, the number is sometimes printed onto the ceramic just behind the seat.
For my system, I have a "Rain Pail" made by a company in Vancouver, B.C. I can't link to their website any more and they may have gone out of business. I got it for about $20 when King County bought a bunch of them for residents and offered them to us at this reduced cost.
I'm good for 90 gallons divided by 1.6 gallons per flush = 56 flushes.
Calculating Your Harvest Potential
Preferably, pick a downspout that drains from a large section of your roof. Your harvest potential will be based on this roof area and also the annual rainfall for your area. The roof area should be calculated as seen from directly above, not the total square footage of the slope. The calculation is as follows (all length units are in feet or inches):
Annual Rainfall (inches/year) 7.481 gallons
Roof Area (Length x Width) x ---------------------------- x ----------------- = Gallons Per Year
12 (inches/foot) cubic foot
Example for my house:
(13 feet x 15 feet) x (37 inches/year divided by 12) x 7.481 = 4,498 gallons per year!
4,498 gallons per year (divided by 1.6 gallons per flush) is 2,811 flushes per year from just a small section of my roof! Keep in mind though that this is only the potential. Long periods of rain will give you more water than you can use, causing excess to overflow out of your barrel and down into your downspout system again. You can increase your usable harvest by using a larger barrel or by hooking multiple barrels together. This will let you use rainwater for longer during periods without rain.
Annual rainfall for your area can be found by clicking here.
Locating Your Barrel
Your first task will be to find a functional and aesthetic place to place your rain barrel. The higher the rain barrel can be placed above the toilet, the better the performance due to the higher pressure. For multi-story houses, one floor height (approx 8 feet), like in my installation, will work well. For single-story homes, I suspect that placing 3 to 4 feet of blocks or a small platform under your barrel will provide enough pressure.
**Caution: Water is heavy! (~8 pounds per gallon). Make sure your structure is adequate enough to support your rain barrel. A normal deck *should* be fine to support up to 100 gallons (800 pounds) but be careful!
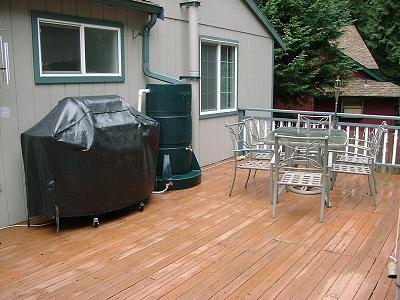
Water barrels don't have to be an eyesore.
Figure 1 below shows how I set up my system. It involved 20 feet of supply line since the barrel was laterally offset from the toilet. You can place your barrel anywhere in relation to the toilet as long as you have adequate height above it.
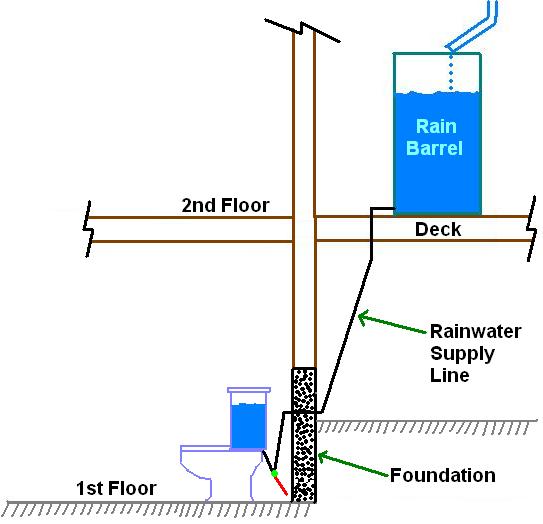
Figure 1. Overall Installation
My rainwater supply line is not directly connected to the toilet. Instead, it is connected to a splitter valve (green dot in figure above behind toilet). This allows easy switching between rainwater (black line) and the normal potable water supply (short red line). We'll discuss more about this valve shortly.
Hooking It All Up
Let's go through the parts I used from the rain barrel to the toilet. This will assume that you've already found a suitable place for your rain barrel and have redirected the flow from a downspout into the barrel. It is also very important that you've directed the overflow port at the top of your barrel back into the gutter system. You can buy hoses, fittings, and downspout at your hardware store.
Click to enlarge and read labels.
I bought all of my installation hardware at Home Depot. The store I was at carried parts from a company called Watts Industries. I first started with two 10 feet pieces of braided vinyl tubing. The outer diameter was 5/8" and inner diameter was 3/8". I joined both of these pieces together with a Watts Brass Fitting 3/8" barb to 3/8" barb hose splicer. At the end connecting to the barrel, I installed a Watts Brass Fitting 3/4" threaded Female Hose x 3/8" hose barb. Inside this fitting I installed a water filter. This is important to keep debris out of your toilet plumbing!
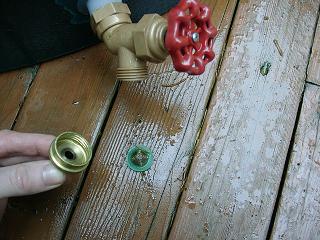
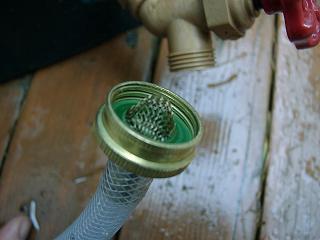
3/4" female fitting connected to hose. Fitting with filter installed.
Rainwater Supply Line 5/8" Daimeter Hole Thru Foundation
This is a view under my porch and shows the supply line running through my foundation in a spot I measured to be behind the toilet. Drilling this hole was not fun. If you're passing through a plywood wall, life will be easier for you. In either case, you'll need a 12" long 5/8" diameter drill bit for either wood or masonry. If you're drilling through concrete, I highly recommend buying or renting an impact hammer drill. If drilling through plywood, make sure you're not drilling on a vertical stud.
In my case, not even the 12" length of the drill bit was enough to make it all the way through the foundation wall, insulation, and drywall. I had to use an 18" long piece of steel rebar to contact the drywall. I slowly twisted this rebar while it rubbed a clean hole through the drywall.
To get the hose through this long hole, you'll need a 24" long piece of wooden dowel of 3/8" diameter or less. Feed 18" of this dowel through the end of the vinyl tubing. This will give it the rigidity you need to pass it through the long hole. Once on the other side behind your toilet, you can pull the dowel out all at once, or a small section at a time and saw off small pieces till it's all gone. If you have to do this, as I did, remember to leave a small bit of dowel sticking out of the tubing to continue pulling more out!
You can patch up any gaps on the walls around the tube on the inside with spackle, and on the outside with silicon sealant. This prevents cold air from drafting in and any insects from making a new home.
I've chosen not to insulate my supply line. It rarely goes below freezing for very long around Seattle. Hardware stores sell pipe insulation that might delay supply line freezing if you're in an area more prone to colder weather.
Supply Line Penetration Inside Water Selector Valve
Once the rainwater supply line is through the wall, I placed another female 3/4" x 3/8" diameter barb on the end of the tubing and secured it to the selector valve.
The selector valve allows you to easily switch between potable and rainwater. The valve itself is a simple garden hose splitter. Many are available in plastic, but I recommend spending a little more for a nice brass one. To integrate this splitter with standard 3/4" diameter garden hose threads into both supply lines requires several adapter fittings. The picture below illustrates the parts.
1. 6" Hose, 3/8" Female Pipe to 1/2" Female Pipe - Brass Craft, $3.49
2. 1/2" Male Pipe to 3/4" Female Hose Fitting - Watts Industries, A-677, $2.67
3. Garden Hose Splitter, Brass - ~$15.00
4. 3/4" Female Hose to 3/8" Hose Barb - Watts Industries, A-683, $5.99
5. End of braided nylon hose from barrel, 5/8" outer diameter, 3/8" inner diameter
6. 3/4" Male Hose to 1/2" Male Pipe Fitting - Watts Industries, A-663, $2.57
7. 1/2" Female Pipe to 3/8" Male Pipe Fitting - Watts Industries, A-118, $2.39
8. 6" Hose, 3/8" Female Pipe to 7/8" Female Toilet Connection - Brass Craft, $3.69
Connect the parts as shown above. Use ample amounts of Teflon tape to prevent leaks. You can buy a small roll of Teflon tape at any hardware store for a buck. Once hooked up, you can easily switch between domestic potable or rain barrel supply by switching both valves on the splitter. In the picture above, the valves are set to let the rain water flow in from the barrel.
Now is the chance to test your system. Fill up the rain barrel with 10 or more gallons of water and see how your toilet fills up when you flush. At this point mine didn't work at all. The next problem to overcome is the difference in pressure between your home's domestic water supply and that of your rain barrel. This pressure is measured in pounds per square inch (psi).
Domestic Potable Supply = ~40 psi Rain Barrel Supply = ~4 psi
You can calculate the pressure of your water barrel by measuring the vertical distance from the water in the top of your barrel to the top of the water in your toilet tank.
Pressure (psi) = Vertical Feet x 0.433 psi/ft
Some toilet fill valves are not designed to operate under the low pressure of the gravity fed water barrel. I previously had the type of fill valve that had a float which slid up and down vertically upon the fill valve shaft. I had to buy the replacement fill valve shown below. You can buy replacement fill valves for under $10. It's important that you get one with an adjustable arm (lower right picture).
The kit I got had a float arm that was too long. I sawed off about 3 inches in the middle and patched it together with duct tape and nails for support.
Replacement Fill Valve Adjustable Fill Valve Arm
You'll need the ability to adjust how far down or up the float arm goes. As shown in the picture on the right, this arm can be adjusted by loosening and tightening the set screw.
** When your toilet is set for potable water (high pressure), you'll need to adjust the arm down so it has more stopping power.
** When your toilet is set for rain water (low pressure), you'll need to adjust the arm up so it allows more water in under the lower pressure.
You'll need to fine tune everything so that the water fills up to the recommended water line for your toilet. Any less and you may have flushing problems... and more and you'll be wasting water.
Extras
Congratulations! You now have a working toilet that flushes with rain water. Now you have another reason to look forward to gray and dreary skies. Here's a few more gadgets you can add to your system.
Backflow Prevention
In some areas, it is required code for you to install a back-flow prevention device. This eliminates the potential for untreated rain water to enter into your home's potable water supply. Check with your local government if interested. The selector y-valve installed should be a good enough physical barrier in most cases. Just don't open both valves up at the same time if you don't have higher domestic water pressure than rain water supply line pressure.
Water Meter
How cool is it to know how much rain water you've used? I bought a water meter from www.watermeters.com. The model I have is DLJ SJ50. It was $59.95 plus $12 shipping. It seems to work okay except that it will only read about 1.1 gallons per flush. After that, the last 0.5 gallon creeps in too slowly for the meter to register but to be honest, I've no level of accuracy on the 1.6 gallon per flush claim.
Performance & Maintenance
There really isn't much to do once you're set up and running. It's a good idea to buy and install steel band clamps around the 5/8" diameter hose where it connects onto the hose barbs. This will help prevent any inadvertent slipping of the hose off the barb. If it did that in my bathroom, I'd have a 90 gallon mess to clean up!
Rain water does have some level of impurities in it. It gathers particles out of the air. It can carry with it tree and moss debris off your roof. The filters installed should gather most of the course stuff, but the fine particles may give the water a slight "tea" color. This is known as turbidity. The higher the turbidity, the most suspended particles are in the water. Given time to settle in your toilet's tank or bowl, these particles may accumulate. While these don't pose a maintenance issue as they are easily swept away with water current, you might have to brush your toilet bowl more often. The water is clean, and no extra chemicals should be used. Just give it a good brushing with a toilet bowl brush when needed.
I've found that the fill times are about the same at 4psi as at 40psi. When connected to rain water, it's even quieter when it's filling up.
You can't even tell it's there!
Contact Me
If anyone has questions, please contact me at pmm1018 at yahoo dot com. I'd be more than happy to help
Please sign my guestbook and leave me some feedback! :-)